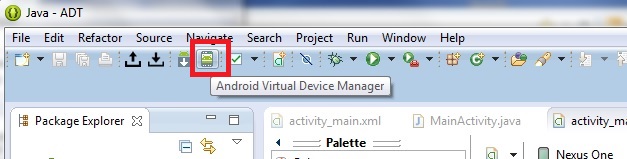
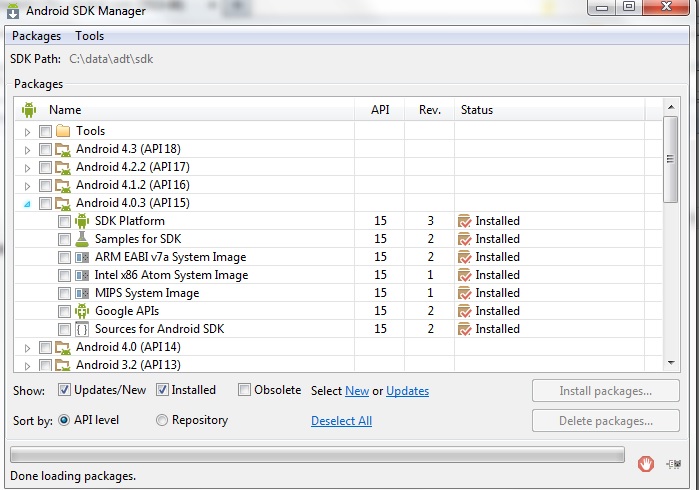
You can also bring up the "SDK Manager" from within the Eclipse development environment by clicking on the "Android SDK Manager" icon in the toolbar. You might have to restart Eclipse to see the target that you just installed in the drop down target list.

You should now be ready to start developing your Android Test App.
Developing the Android Test App
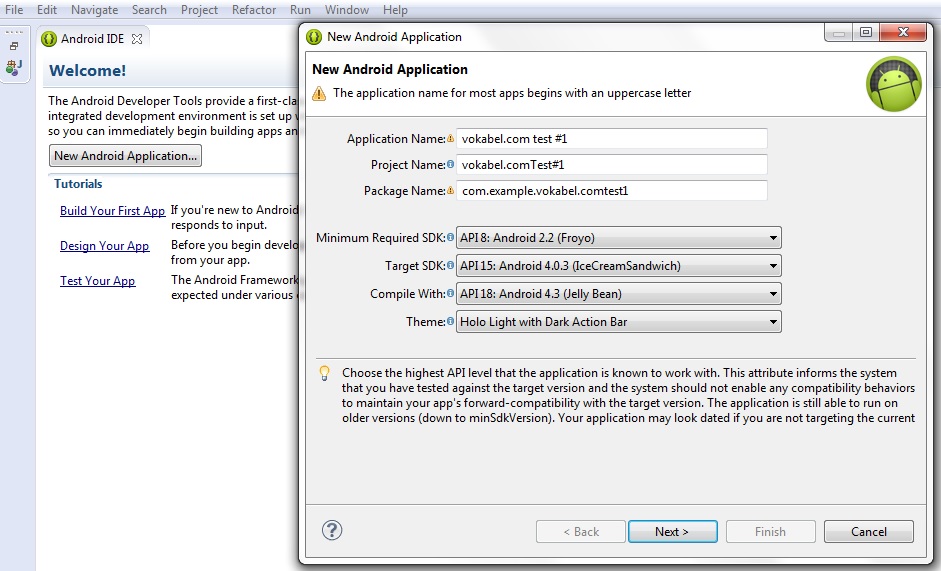
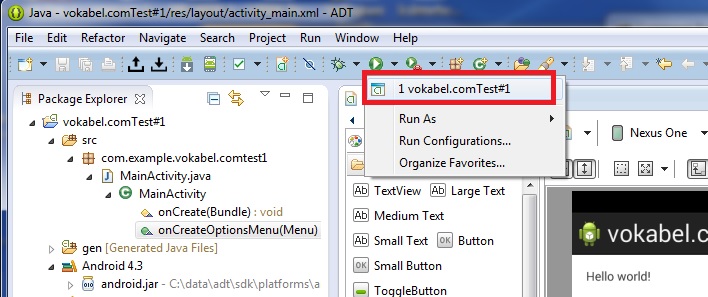
- Let's start by running the "Hello World" application which was created when you clicked on "New Application" above to make
sure our emulator is set up properly. Click on the Run arrow and select run as "Android Application". The first time you run
the emulator it will take a few minutes to start up so be patient.

- Whenever you want to start the emulator with this app in the future, select the application under the run menu. If you
are greeted with a lock screen, click on the lock icon in the emulator with your mouse and drag it to the right. You should
then see your application.
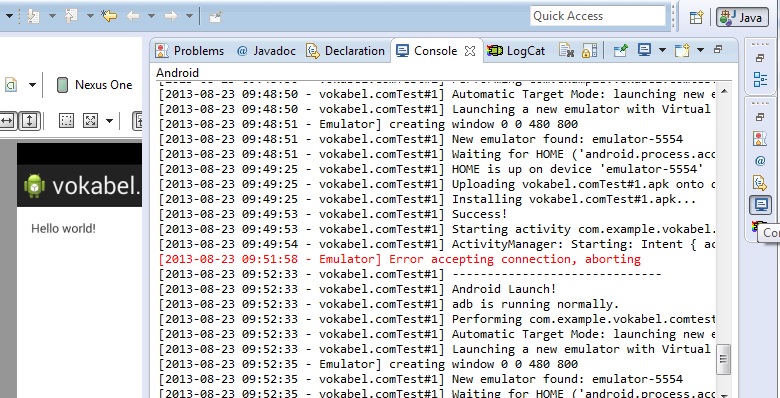
To get the output of the application, click on the console button on the right hand border
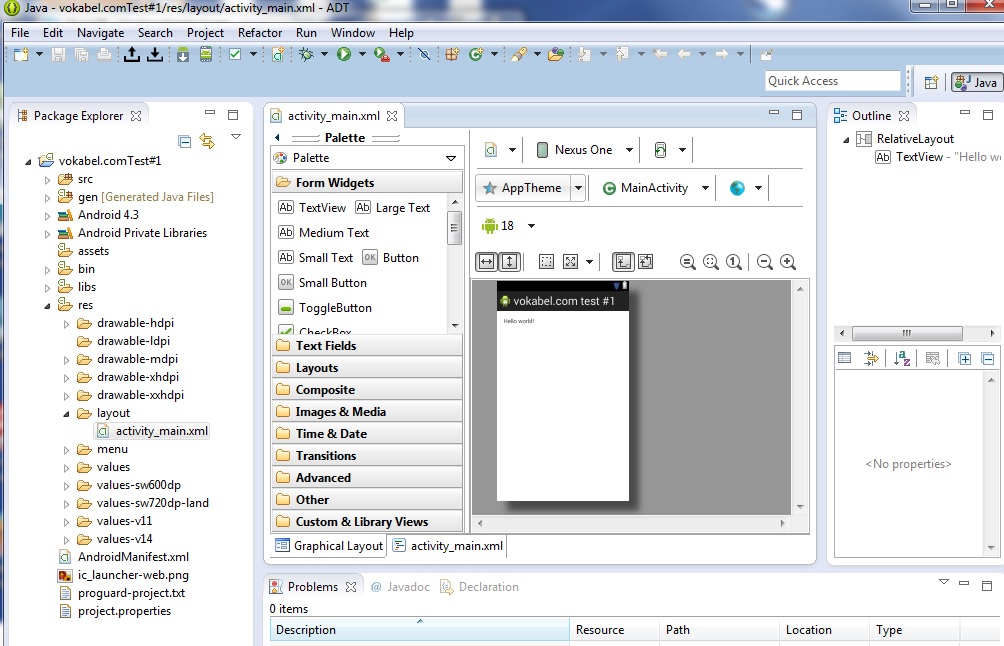
- Let's now build the graphical user interface. We'll add 5 textboxes, 2 pushbuttons, and 5 labels (keeping the original hello world because we
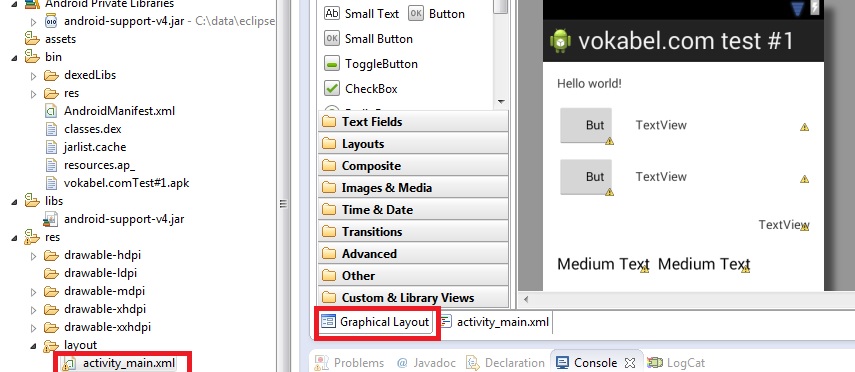
don't want to break anything). If the GUI editor isn't displayed, you can bring it up by clicking the "res" folder under
your project , clicking on layout and then opening the activity_main.xml file. Click on the Graphical Layout tab to see the
GUI builder.
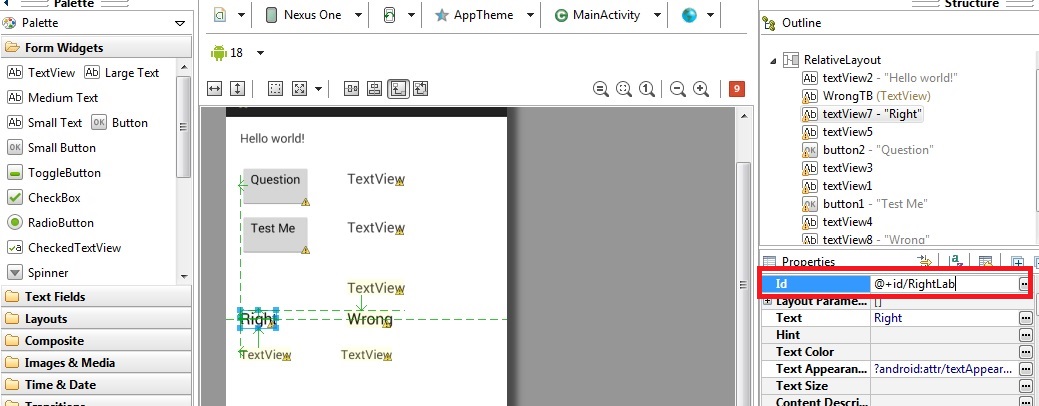
Perform the appropriate modifications by clicking on the widget in question and modifying the appropriate property in the properties box. (note, it takes some work gaining familiarity with the properties of the widgets and what happens when you modify them).
- Modify the ID property of the different widgets for more representative identifiers
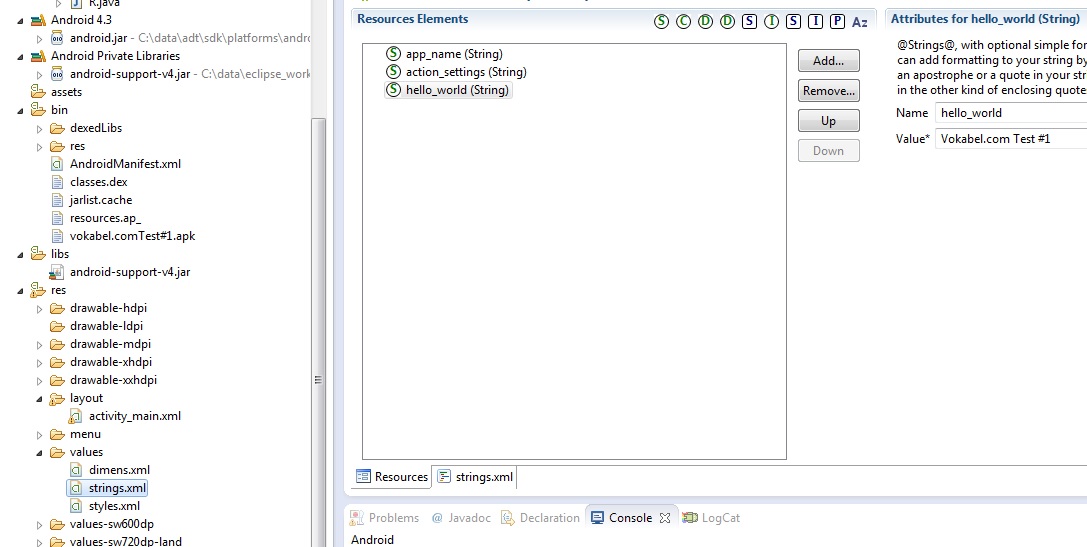
- Let's now look in the code where the Hello World! string is defined and change this to the name of our application. It looks like the
developers of the Hello World app referenced it as a string resource in the GUI builder so we have to change the entry in the strings.xml
file.
- Now it's time to think about the data. Ideally, we'll be using the same property list that we created for the iphone testing app. Unfortunately
the native java libraries don't have support for the property lists that we used for the iphone but we can use an alternative structure. We'll store the questions
in one string_array called questions_array, and the corresponding answers in another string_array called answers_array. We could get the corresponding
answer for a particular question because the value of their indexes would be the same. The .xml file would look like:
Right click on res/values and select New, then select Android XML File. Call the file "questions". Next right click on the the questions.xml file, open with, and select text editor. Paste the above question/answer arrays into your questions.xml file. - In the oncreate method, load the questions array into an array called questions_array and the answers into an array called answers_array.
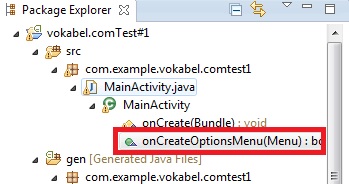
Double click on onCreateOptionsMenu to get to this method.
- We will be fielding button clicks programmatically by building 2 event handlers (one for
each of our buttons) into our onCreate method. Within the 2 handlers we will be programming the
logic of what the application should do when the button is clicked. Below is the source code
of our main_activity.java file (i.e. our only file with source code in it). Only the onCreate
method was modified. Note that we also have to import the appropriate library to deal with certain
funtions that we call, but the debugger does a great job of notifying us interactively as we are
typing the code what exactly needs to be imported. I've also commented out the Toast calls which allow
us to see output on the console as we go through the development process.
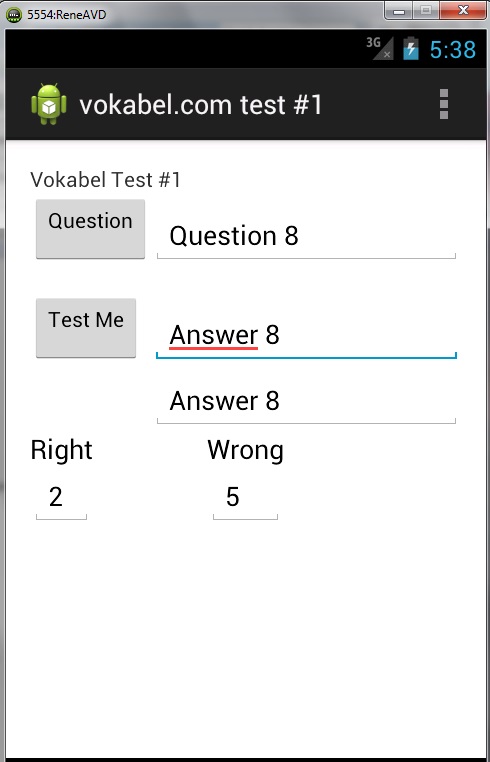
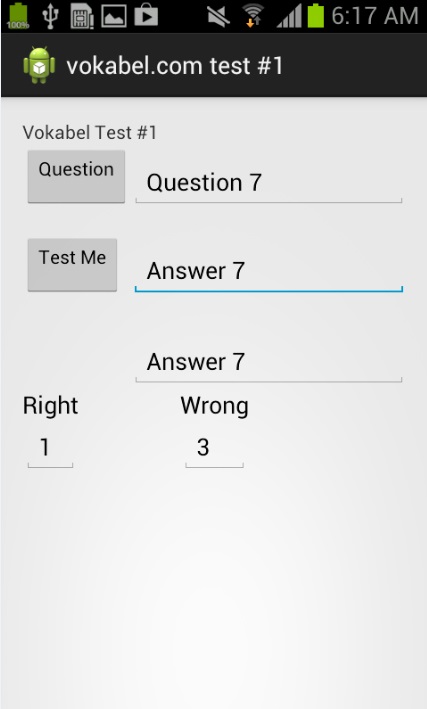
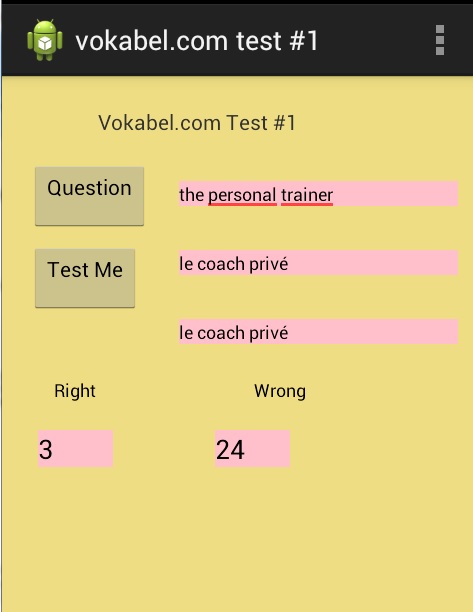
Below are the images of the application as it appears in the emulator
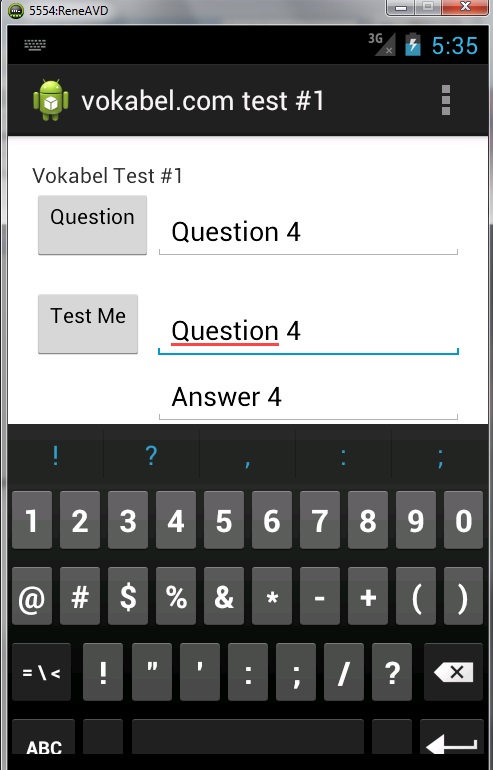
Remove keyboard from emulator by hitting the escape key on your keyboard.
- Test your app fully in the simulator before downloading it onto your phone.
Installing the test on your Android
- Now you should be ready to load the application onto your device. First you have to make sure
that your device can receive the app. To do this first set your device to USB debugging mode (in my phone it
can be done through settings->developer options->USB debugging). Next go to the Eclipse Bundle's .\sdk\platform-tools
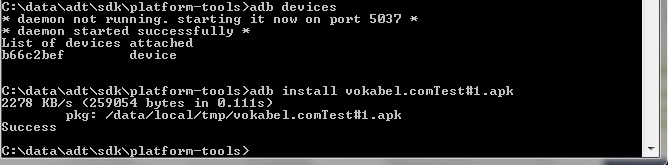
directory and execute the following command: adb devices . If you see your device you can proceed with
the adb install app_name.apk command. I copied my vokabel.comTest#1.apk file from my workspace\vokabel.comTest#11\bin
directory to the .\sdk\platform-tools directory before I did this. You should see
the command respond with "success" when the app is installed.
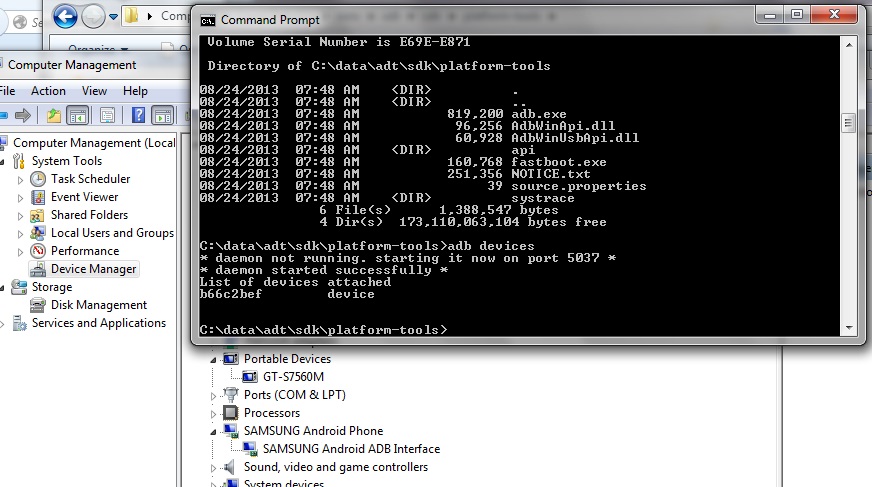
- Unfortunately, for a lot of phones, you will not see the device detected the first time that you type
"adb devices". For the Samsung phones, you will have to download and install the SAMSUNG USB Driver (search the internet for the download).
You can tell that it is installed because it is visible in your Windows Device Manager.
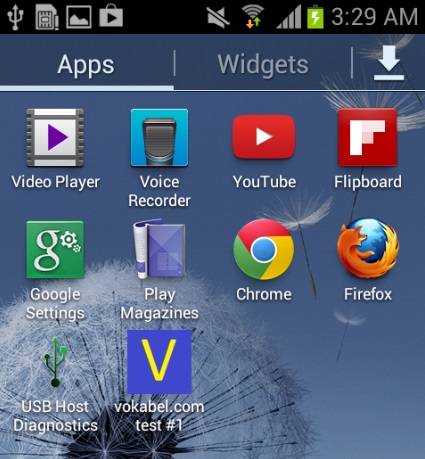
- You should now see the newly created app on your Android
Prettying up the Interface for Distribution
The GUI Builder in Eclipse is difficult to use. Eventually, most programmers end up editing the XML Layout and resource files manually to get the look that they desire. Below is the final XML file for the Test User Interface located in res\layout\activity_main.xml:You'll notice that there are some references to values contained in pre-defined strings. These may be found in the res\values\dimens.xml and res\values\strings.xml files shown below:
and the strings.xml
I've also loaded 100 question/answer pairs into the res\values\questions.xml file for the final English/French word list that will be distributed with the application.
Creating your own icons for distribution
Although the default Android icons that we specified to use when we initially created the project look very nice, we might want to show an icon more representative of our application. To do this you would do the following:- save the image that you would like as an icon as a .png file in a tool like Paintbrush or iPhoto
- the requirements for all of the icons needed when submitting your app for verification are very difficult to track. The makeappicon.com site creates all requisite icons for both iphone/ipod/ipad and Android developers. Just upload your .png file to the site and a .zip file containing all of the required images will be emailed to you.
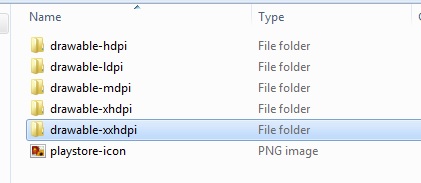
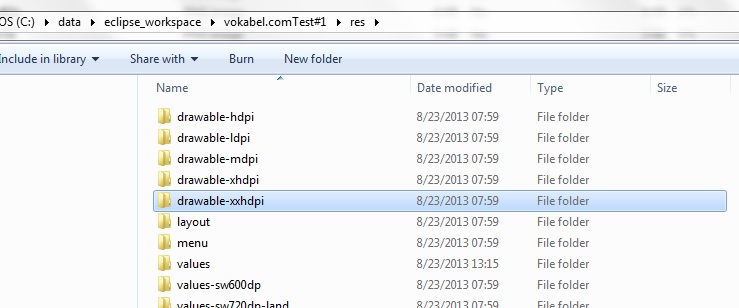
- Have a look at the android folder of the .zip file sent to you by the makeiappicon.com site. You'll notice that the 5 folders it shows are identical
to the drawable* folders you'll find in your workspace\project_name\res directory. Just replace all icons and you should notice the new launch icon
next time you compile your app in Eclipse with output set to the Android
Publishing your app
The most convenient way to sell your apps to a wide audience and comply with all applicable tax rules is through the Google play store. Assuming that you already have a google account, the process is fairly straight-forward.- Sign up as a developer and pay the $25 fee (Link as of this writing is here. You would also set up your Google merchant account where you would fill in the US tax forms and provide bank information.)
- Make sure that you've tested your app on a smaller phone and a large screen tablet to make sure it is usable on both. If publishing to different devices, you want to make sure that you've changed the layout of the app from "Absolute layout" to "Relative layout" in the xml of the screen files. This will take a fair amount of work. forcing you to go through the intricacies of android screen construction (i.e. not using the GUI builder). Thankfully, there are lots of resources on the web that will answer any questions that you would have.
- go through all steps in preparing your release.
- go to the Google Play Developer Console and add you app.
- Generate the key that you will be using for the app using the java keytool.exe executable (located in the bin sub-directory of the jdk subdirectory. (E.g. keytool -genkey -v -keystore my-release-key.keystore -alias alias_name -keyalg RSA -keysize 2048 -validity 100000). *important* remember your passwords and store them somewhere that you won't forget or you won't be able to update your app.
- Create the apk file of your production-ready version by selecting File->Export in Eclipse, open the Android folder and select Export Android Application. Click on next and specify the appropriate key that you just created.
- Upload your apk file through the Developer Console and publish the App when ready (note that you will have to change the android:versionCode and android:versionName in your AndroidManifest.xml file to unique values for each update. It is also a good idea to set the package to a descriptive value e.g. package="mydomain.com.alltests". Remember to change your package specification to this value in all of your .java files.)

By: Rene Kondratzky